
Preventing acne breakouts from hair removal comes down to three essential practices: preparing the skin properly before removal, using clean tools and correct technique during the process, and caring for the skin afterward with non-comedogenic products. The most common mistake people make is removing hair from unprepared skin, then applying heavy lotions or touching the area afterward, which introduces bacteria into freshly opened follicles. For example, someone who dry-shaves their face in a rush and immediately applies a thick moisturizer is creating ideal conditions for folliculitis and acne mechanica, two of the most frequent post-removal skin problems. The type of hair removal method matters significantly, but proper hygiene and aftercare matter more.
Whether you wax, shave, use depilatory creams, or undergo laser treatments, breakouts typically occur when bacteria enter compromised hair follicles or when dead skin cells and product residue clog pores that have been irritated by the removal process. This article covers why different hair removal methods trigger breakouts, how to prepare your skin regardless of method, the best post-removal care routines, product ingredients to avoid, and specific strategies for acne-prone skin types. Understanding the mechanism behind post-removal breakouts helps you prevent them more effectively. Hair removal creates micro-trauma to the skin, and this temporary damage makes follicles vulnerable to bacterial invasion and inflammation. The following sections break down each aspect of prevention, from pre-treatment preparation to long-term skin maintenance.
Table of Contents
- Why Does Hair Removal Cause Acne Breakouts in the First Place?
- The Relationship Between Hair Removal Methods and Skin Irritation
- How Skin Type Affects Post-Hair Removal Breakouts
- Choosing the Right Products for Acne-Prone Skin During Hair Removal
- Common Mistakes That Lead to Post-Hair Removal Breakouts
- The Role of Pre-Treatment Preparation in Preventing Breakouts
- How to Prepare
- How to Apply This
- Expert Tips
- Conclusion
- Frequently Asked Questions
Why Does Hair Removal Cause Acne Breakouts in the First Place?
Hair removal triggers breakouts through several interconnected mechanisms, and understanding these helps explain why certain prevention strategies work. When you remove hair, you’re not just pulling or cutting the hair shaft””you’re also affecting the follicle opening, the surrounding skin cells, and the sebaceous glands that produce oil. Shaving creates microscopic cuts and removes the top layer of skin cells, while waxing pulls hair from the root and can stretch or tear the follicle opening. Both processes leave the skin temporarily compromised and more susceptible to bacterial colonization. The primary culprits behind post-removal acne are Cutibacterium acnes (the bacteria associated with common acne) and Staphylococcus aureus (which causes folliculitis).
These bacteria are always present on skin, but they cause problems when they enter damaged follicles and multiply in the warm, sebum-rich environment. Compared to regular acne, post-removal breakouts often appear more uniformly distributed across the treated area and may present as small, uniform bumps rather than the varied whiteheads, blackheads, and cysts of typical acne vulgaris. Ingrown hairs add another layer of complexity to post-removal breakouts. When a hair curls back and grows into the skin rather than out of the follicle, the body treats it as a foreign object and mounts an inflammatory response. This creates a red, raised bump that closely resembles a pimple and can become infected. People with curly or coarse hair experience ingrown hairs more frequently, making prevention strategies even more important for these hair types.
The Relationship Between Hair Removal Methods and Skin Irritation
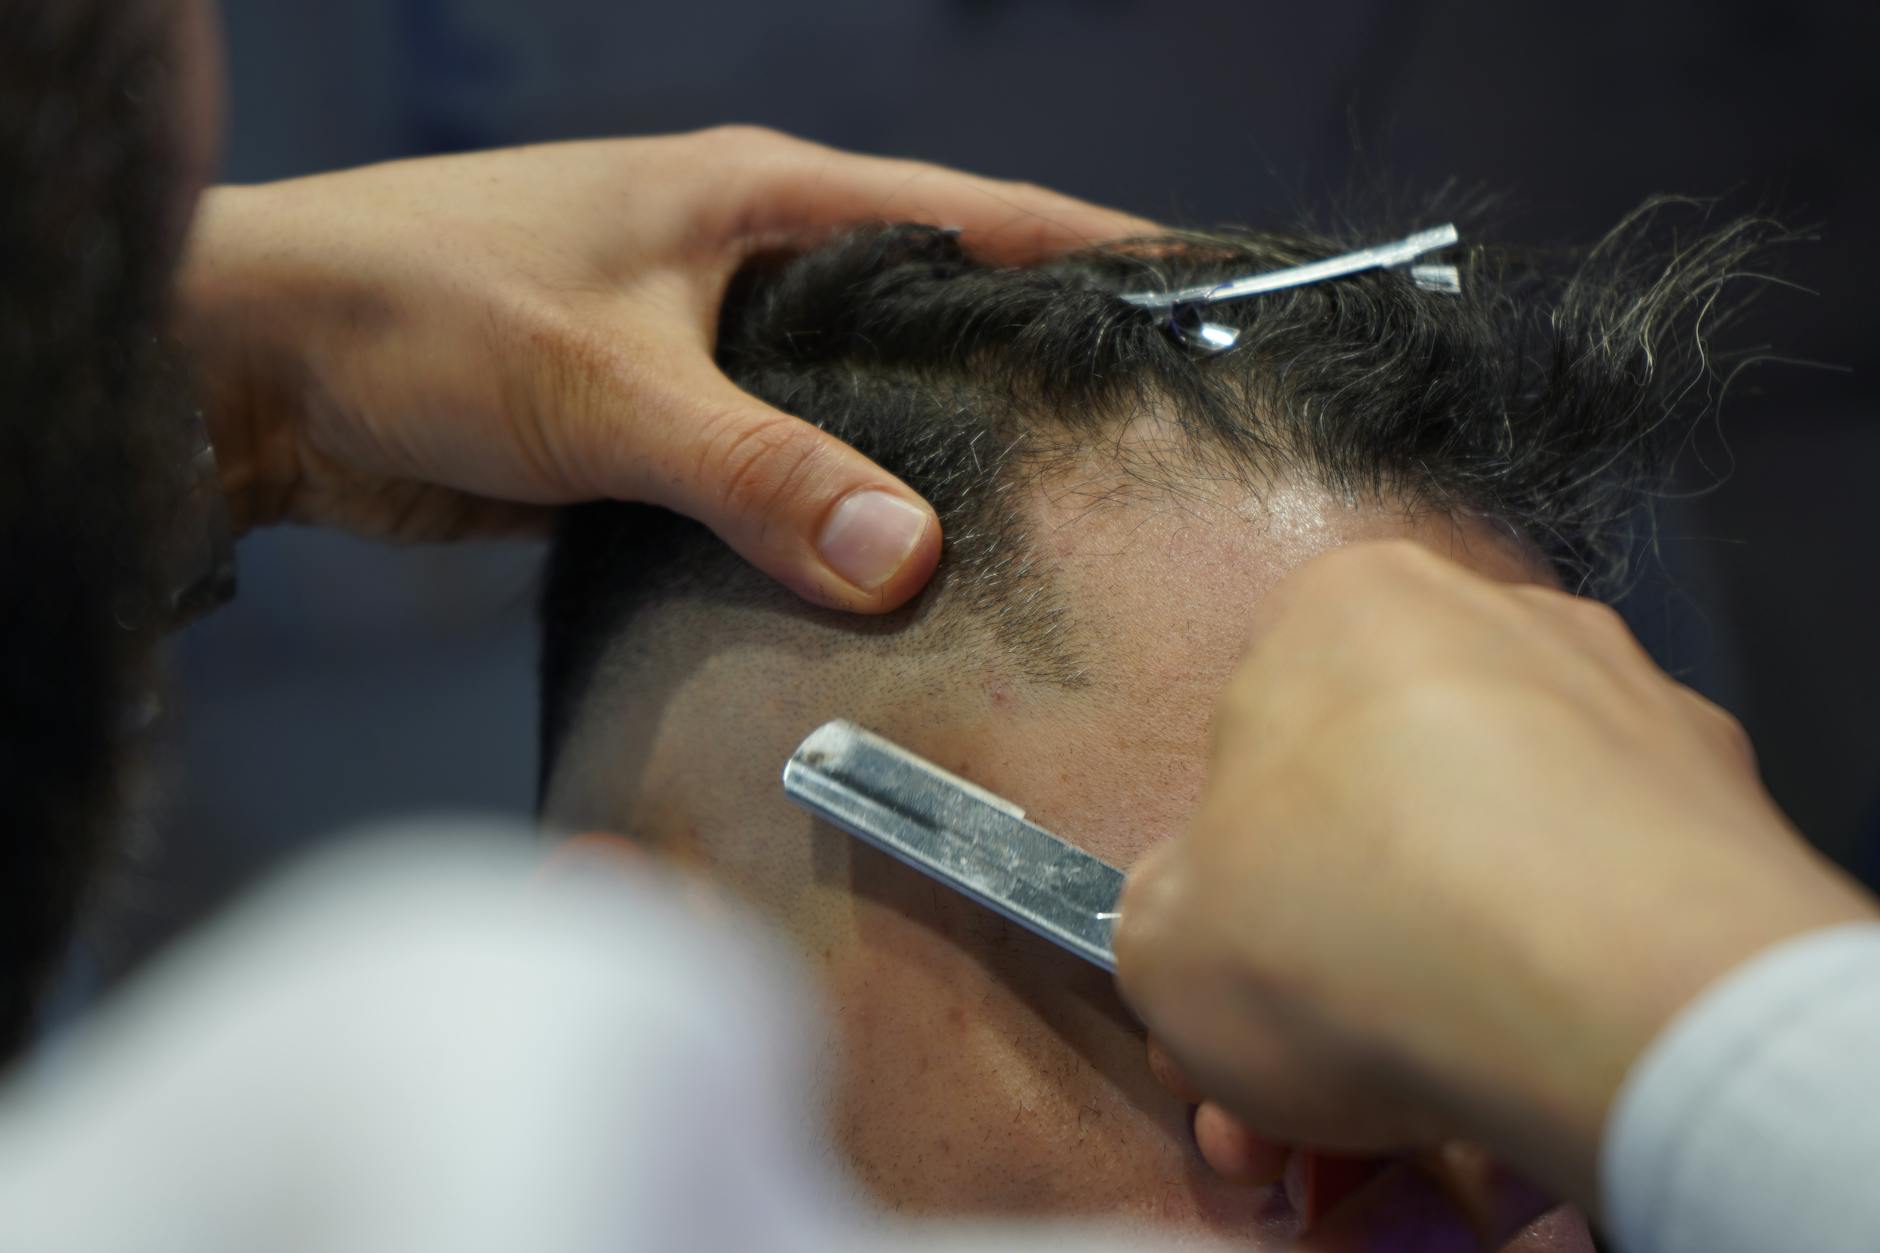
Different hair removal methods create different types of skin stress, and matching your prevention approach to your chosen method improves results. Shaving causes surface-level trauma and is most likely to cause razor bumps and immediate irritation, particularly when using dull blades or shaving against the grain. Waxing removes the entire hair from the root, which creates deeper follicular trauma but results in finer regrowth that’s less likely to cause ingrown hairs over time. Depilatory creams use chemicals to dissolve hair, which can cause contact irritation in sensitive individuals but don’t create the mechanical trauma of other methods. However, if you have active acne or very sensitive skin, waxing may be too aggressive. The heat from the wax and the pulling action can rupture existing pimples, spread bacteria across the skin, and cause significant post-inflammatory hyperpigmentation, especially in darker skin tones.
In these cases, careful shaving with a single-blade razor or switching to laser hair removal during calm skin periods may be preferable. Laser treatments work by targeting the pigment in hair follicles, and while they can cause temporary redness, they don’t create the bacterial entry points that other methods do. Threading represents a middle ground for facial hair removal. The technique removes hair from the root like waxing but without applying hot substances to the skin. For acne-prone individuals, threading the eyebrows or upper lip causes less irritation than waxing these areas, though it requires a skilled practitioner. The limitation is that threading isn’t practical for large body areas, making it suitable only for facial hair removal.
How Skin Type Affects Post-Hair Removal Breakouts
Your skin type significantly influences how likely you are to experience breakouts after hair removal and which prevention strategies will work best. Oily skin types produce excess sebum, which can mix with dead skin cells and bacteria in freshly compromised follicles, creating ideal conditions for acne. People with oily skin should focus on lightweight, oil-free aftercare products and may benefit from using a salicylic acid treatment before hair removal to clear follicles of excess sebum. Dry and sensitive skin types face a different challenge. Their compromised skin barrier makes them more susceptible to irritation and inflammation, but they also need adequate hydration to heal properly.
For example, someone with dry, sensitive skin who waxes their legs might experience both immediate irritation and delayed breakouts that appear three to four days later when the skin is recovering. These individuals should prioritize barrier-supporting ingredients like niacinamide and ceramides while avoiding harsh astringents that could worsen dryness. Combination skin requires zone-specific approaches, particularly on the face. The T-zone (forehead, nose, and chin) typically produces more oil and is more prone to post-shaving breakouts, while the cheeks may be drier and more irritation-prone. Treating all facial zones identically often fails because the oily areas need oil control while the drier areas need protection. Using different products on different zones, though more time-consuming, produces better results for combination skin types.

Choosing the Right Products for Acne-Prone Skin During Hair Removal
Product selection before, during, and after hair removal can either prevent or cause breakouts, making ingredient awareness essential. Look for products labeled non-comedogenic, meaning they’ve been tested not to clog pores. However, this label isn’t regulated, so checking ingredient lists remains important. Avoid products containing coconut oil, cocoa butter, isopropyl myristate, and lanolin on acne-prone areas””these are highly comedogenic and commonly found in shaving creams, aftershaves, and post-wax oils. For shaving preparations, consider the tradeoff between foam, gel, and oil-based products. Foam products tend to be lighter but may contain alcohol that dries skin and triggers rebound oil production.
Gel products provide better razor glide and visibility but sometimes contain heavier emollifiers. Shaving oils can work well for dry skin but risk clogging pores if not thoroughly removed. People with acne-prone skin often find that fragrance-free, gel-based products offer the best balance of lubrication without pore-clogging potential. Post-removal products matter equally. Witch hazel makes an effective natural astringent that reduces bacteria without over-drying, while products containing tea tree oil offer antibacterial benefits at low concentrations (around five percent). Avoid alcohol-based aftershaves, which strip the skin’s protective barrier and can paradoxically increase oil production. A light, non-comedogenic moisturizer or aloe vera gel provides enough hydration to support healing without clogging follicles.
Common Mistakes That Lead to Post-Hair Removal Breakouts
Several widespread practices dramatically increase breakout risk, and many people engage in them without realizing the connection. Touching the skin immediately after hair removal introduces bacteria from hands to vulnerable follicles””a fifteen-second touch to check smoothness can deposit enough bacteria to cause a breakout two days later. Using the same razor blade for more than five to seven uses means shaving with bacteria-laden, dulled metal that creates more micro-cuts and drags more pathogens into the skin. Exercising immediately after hair removal ranks among the most common triggers for body acne. Sweat, friction from clothing, and the bacteria present in gym environments combine to create significant breakout risk.
The same applies to swimming in pools or hot tubs, where chemicals can irritate freshly treated skin. Waiting at least four to six hours before exercise, and twenty-four hours before swimming, reduces this risk substantially. A less obvious mistake involves neglecting exfoliation in the days between hair removal sessions. Without regular exfoliation, dead skin cells accumulate over follicle openings, trapping new hair growth beneath the surface and causing ingrown hairs that become inflamed. However, exfoliating immediately before or after hair removal irritates already-compromised skin. The timing matters: exfoliate gently two to three days before hair removal and resume two to three days after, maintaining a consistent schedule between sessions.

The Role of Pre-Treatment Preparation in Preventing Breakouts
What you do before removing hair affects outcomes as much as the removal process itself. Clean skin is non-negotiable””removing hair from skin covered in makeup, sunscreen, or accumulated oils pushes these substances into open follicles. A gentle cleanser used immediately before hair removal reduces bacterial load and removes pore-clogging substances without stripping protective oils. For example, washing the underarm area with a mild antibacterial cleanser before shaving reduces folliculitis risk significantly compared to shaving on skin covered with the day’s sweat and deodorant residue. Warming the skin before hair removal opens follicles and softens hair, reducing the force needed to remove it.
For shaving, a warm shower or applying a warm washcloth for two to three minutes before starting makes the process easier on skin. For waxing, this principle explains why professionals often use pre-wax cleansers and ensure wax temperature is optimal””warm enough to work effectively but not hot enough to burn or cause excessive inflammation. Hydration levels also affect outcomes. Dehydrated skin is less resilient and more prone to micro-tears during hair removal. Drinking adequate water in the days before a waxing appointment and using a light moisturizer the night before (but not immediately before) improves skin elasticity and healing response.
How to Prepare
- **Cleanse the area thoroughly.** Use a gentle, fragrance-free cleanser to remove dirt, oil, bacteria, and any product residue. Pat dry with a clean towel””using a towel that’s been hanging in a humid bathroom for days reintroduces bacteria to clean skin.
- **Exfoliate two to three days before, not immediately before.** Use a gentle chemical exfoliant containing salicylic acid or a soft physical scrub to clear dead skin cells from follicle openings. Exfoliating the same day as hair removal risks over-irritating the skin.
- **Apply a warm compress for two to three minutes.** This softens hair and opens follicles, reducing trauma during removal. For shaving, shave at the end of a warm shower when skin is already prepped.
- **Ensure tools are clean and sharp.** Replace razor blades every five to seven uses, and clean razor handles with rubbing alcohol. For at-home waxing, ensure wax is fresh and applicators are single-use.
- **Apply a thin layer of appropriate pre-treatment product.** For shaving, use a non-comedogenic shaving gel. For waxing, use a pre-wax cleanser or light powder to absorb excess oil.
How to Apply This
- **Rinse treated areas with cool water.** Cool temperatures help close follicle openings and reduce inflammation. Avoid hot water, which increases blood flow and can prolong redness.
- **Apply a gentle antiseptic or antibacterial product.** Witch hazel, diluted tea tree oil, or a dedicated post-shave treatment with antibacterial properties reduces bacterial colonization in freshly opened follicles.
- **Follow with a non-comedogenic, fragrance-free moisturizer.** Aloe vera gel works well for many people, as does a light lotion containing niacinamide or ceramides. Avoid heavy creams, oils, or anything containing pore-clogging ingredients.
- **Avoid touching the area and wear loose, breathable clothing.** Friction from tight clothing pushes bacteria into follicles, and hands transfer bacteria and oils. For facial hair removal, avoid applying makeup for at least four to six hours.
Expert Tips
- Use a fresh razor blade every three to five shaves for facial areas and every five to seven shaves for body areas, replacing more frequently if you notice tugging or irritation.
- Apply a two percent salicylic acid treatment to the area twelve to twenty-four hours after hair removal to prevent dead skin cells from trapping regrowth””do not apply immediately after, as this can cause significant stinging and irritation.
- Change your pillowcase after facial hair removal sessions to avoid pressing your face against fabric harboring bacteria and oils from previous nights.
- Consider switching hair removal methods if breakouts persist despite proper technique; some people’s skin simply tolerates certain methods better than others, and finding the right method often requires experimentation.
- Do not attempt to extract or pop post-hair removal bumps, as this spreads bacteria, worsens inflammation, and often converts a minor bump into a larger, longer-lasting breakout with scarring potential.
Conclusion
Preventing acne breakouts from hair removal requires attention at three stages: before, during, and after the process. Proper preparation including cleansing and warming the skin, using clean tools with correct technique, and applying appropriate aftercare products creates the conditions for skin to heal without developing breakouts. The specific products and methods that work best vary by skin type, but the underlying principles of hygiene, gentleness, and non-comedogenic care apply universally.
Building a consistent routine takes some initial effort but becomes second nature quickly. Pay attention to how your skin responds to different methods and products, making adjustments based on what you observe rather than following generic advice that may not suit your particular skin. If breakouts persist despite consistent proper care, consulting a dermatologist can help identify whether underlying conditions like hormonal acne or chronic folliculitis require additional treatment.
Frequently Asked Questions
How long does it typically take to see results?
Results vary depending on individual circumstances, but most people begin to see meaningful progress within 4-8 weeks of consistent effort. Patience and persistence are key factors in achieving lasting outcomes.
Is this approach suitable for beginners?
Yes, this approach works well for beginners when implemented gradually. Starting with the fundamentals and building up over time leads to better long-term results than trying to do everything at once.
What are the most common mistakes to avoid?
The most common mistakes include rushing the process, skipping foundational steps, and failing to track progress. Taking a methodical approach and learning from both successes and setbacks leads to better outcomes.
How can I measure my progress effectively?
Set specific, measurable goals at the outset and track relevant metrics regularly. Keep a journal or log to document your journey, and periodically review your progress against your initial objectives.
When should I seek professional help?
Consider consulting a professional if you encounter persistent challenges, need specialized expertise, or want to accelerate your progress. Professional guidance can provide valuable insights and help you avoid costly mistakes.
What resources do you recommend for further learning?
Look for reputable sources in the field, including industry publications, expert blogs, and educational courses. Joining communities of practitioners can also provide valuable peer support and knowledge sharing.